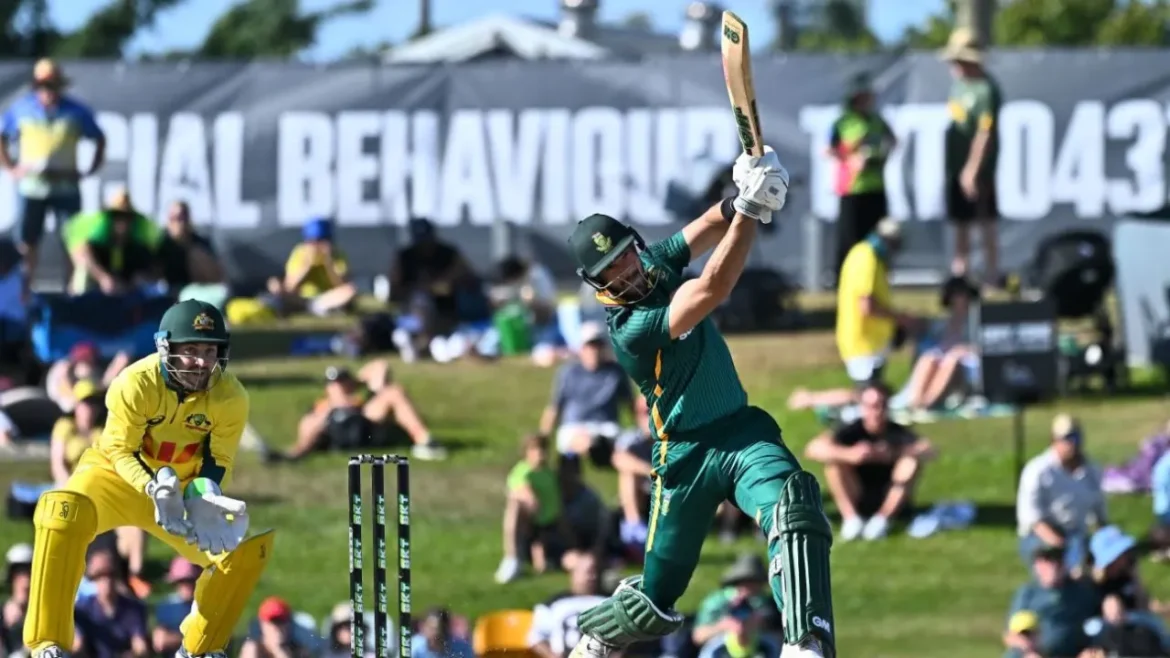
South Africa showcased a strong and balanced batting performance as Temba Bavuma, Aiden Markram, and Tristan Breetzke all scored crucial half-centuries, guiding their team to a competitive total of 296. Each batsman contributed with well-timed shots, steady partnerships, and smart running between the wickets, keeping the scoreboard ticking and putting continuous pressure on the opposition. Bavuma’s experience, combined with Markram’s aggressive stroke play and Breetzke’s composure, highlighted the depth and versatility of South Africa’s batting lineup.
The innings reflected both resilience and strategic intent, with the team accelerating at key moments while maintaining stability in the middle overs. Posting near 300 runs gives the Proteas momentum and a strong platform as they approach the final overs, setting up an exciting contest. The performance not only showcased individual brilliance but also emphasized the collective strength of the team, making them formidable opponents as the match progressed.
Opening Struggles for Markram and Rickelton
Markram and Ryan Rickelton faced disciplined bowling from Australia’s opening seamers, Josh Hazlewood and Ben Dwarshuis. Early movement off the pitch limited scoring opportunities, leaving the pair at 32 without loss after seven overs. Markram looked composed, while Rickelton struggled against spin and pace. Despite several close calls, including a near run-out and a dropped catch, Rickelton was eventually dismissed for 25, ending the opening stand at 92.
Markram Anchors the Innings
Aiden Markram reached his 13th ODI fifty off 54 balls, combining elegant drives with calculated aggression. This innings also marked his second half-century in three ODI matches, easing concerns over his form. Markram moved to 82 off 81 balls before being caught behind off Ben Dwarshuis. His innings laid a solid foundation, allowing South Africa to maintain momentum despite early challenges on the spin-friendly surface.
Bavuma and Breetzke Rev Up the Middle Overs
Temba Bavuma, batting at No.3 for the first time since the World Test Championship final, combined well with Matthew Breetzke. Bavuma initially struggled to accelerate but gradually settled, reaching his fourth consecutive ODI fifty. Breetzke played the aggressor, hitting his first six over midwicket in the 28th over and targeting spinner Marnus Labuschagne with back-to-back fours. Their partnership helped South Africa pass 200 runs in the 37th over, setting up a strong finish.
Travis Head’s Spin Challenges Australia
Part-time spinner Travis Head emerged as Australia’s most effective bowler, claiming four wickets in nine overs, including key middle-order dismissals. His bowling highlighted the importance of spin on a slow pitch. Meanwhile, Australia’s frontline seamers, Hazlewood, Dwarshuis, and Nathan Ellis, bowled economically under six runs per over, maintaining pressure but finding it difficult to break partnerships.
Late-Innings Surge and South Africa’s Finish
South Africa accelerated in the final overs, with Bavuma and Breetzke hitting boundaries and finding gaps across the field. Breetzke completed a run-a-ball fifty, but was eventually dismissed while attempting a risky shot. Key middle-order wickets fell in quick succession to Travis Head, including Stubbs and Dewald Brevis. Wiaan Mulder finished the innings strongly with 31 off 26 balls, including a six over long-on. South Africa scored 73 runs in the last 10 overs despite losing five wickets.
South Africa Sets a Competitive Total
The combined efforts of Markram, Bavuma, Breetzke, and Mulder ensured South Africa’s 296 was challenging for Australia. The innings highlighted South Africa’s depth, adaptability, and ability to handle spin. With strong partnerships and strategic aggression, South Africa put themselves in a favorable position, showcasing the team’s resilience and talent in ODIs.
FAQs
Who scored half-centuries for South Africa in this ODI?
Aiden Markram, Temba Bavuma, and Matthew Breetzke all scored half-centuries in this match.
What was South Africa’s final score against Australia?
South Africa finished their innings at 296 runs.
Who was Australia’s most successful bowler?
Part-time offspinner Travis Head took four wickets, making him Australia’s top performer with the ball.
How did South Africa perform in the last 10 overs?
They scored 73 runs but lost five wickets, showing both aggression and risk-taking.
Did Markram overcome form concerns in this match?
Yes, Markram scored 82 runs off 81 balls, marking his second half-century in three ODI innings.
Conclusion
South Africa’s innings was defined by strategic partnerships, patience, and timely aggression. Markram, Bavuma, and Breetzke anchored the innings, while Mulder provided a strong finish. Despite a challenging spin-friendly pitch, South Africa managed 296, setting a competitive target. The team displayed depth, resilience, and adaptability, creating pressure on Australia and positioning themselves strongly in this high-stakes encounter.

